When I saw this recipe I know I HAD TO bake this.
Apart from the lovely contrast in the colors of the different layers, the contrast in flavor and textures of the layers also appealed greatly to me.
Most of all, the colors of this brownie screams “CHRISTMAS!” to me.
I’ve always had a thing for layered brownies and blondies. They are so impossibly pretty to look at.

Yes I can be a bit shallow. Just a bit. Sometimes. 🙂
This brownie is easy to make – it does take a while because you will need to cool the brownie layer before you can add the other 2 layers.
But it is well worth the time, trust me!

This is a really dense brownie though, so if you are into light, fluffy cakes this would not be a good choice.
If you want to give this a go, here’s how.
Melt the butter in a heavy-based saucepan or the microwave. Be careful not to burn the butter. Set this aside to cool slightly before using.

Pour the butter in a big bowl. Add the sugar and whisk to combine. There is no need to use a mixer to make brownies. All I am using is my Tovolo Better Batter Tool.

Add vanilla extract, red food coloring and white vinegar. Whisk to combine.


Add the eggs, one at a time and mix well.

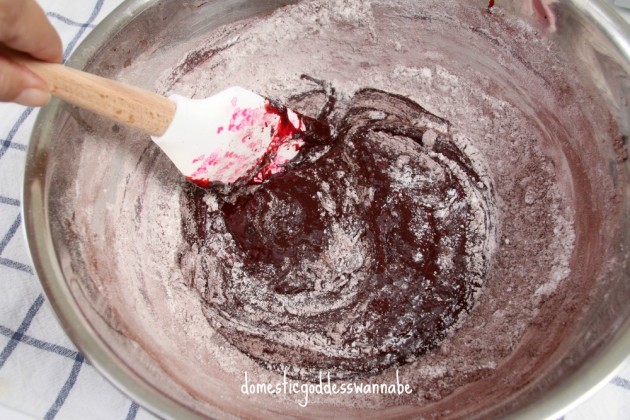
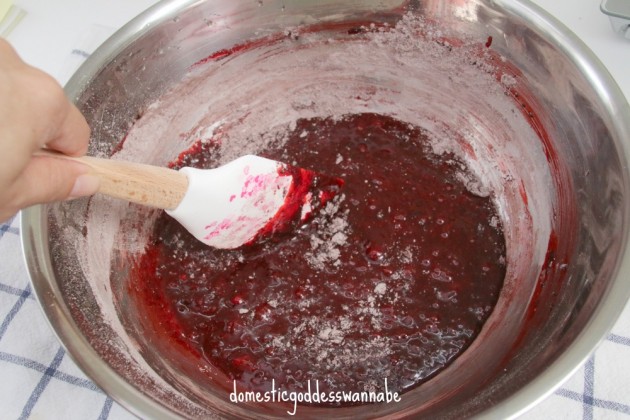
Fold in the flour, cocoa powder and salt with a spatula. Mix just to combine – do not over mix!
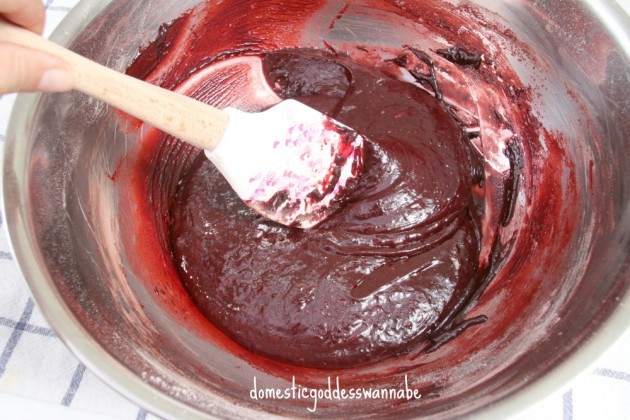
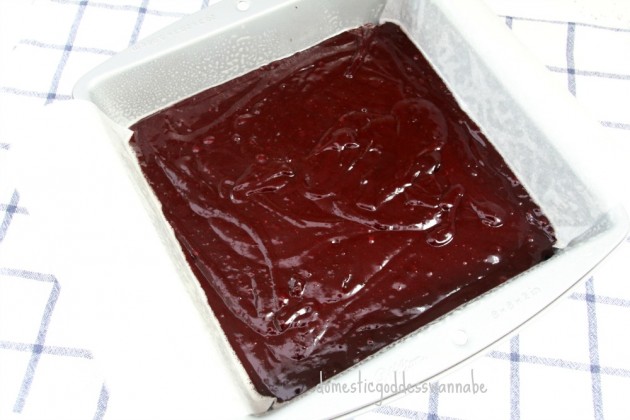
Once mixed, pour the batter into a greased and lined 8×8-inch pan.
Bake at 170°C for 22-25 minutes, or until a skewer inserted into the brownie emerges mostly clean. Cool the brownie on a wire rack for 30 minutes before placing it to chill in the fridge.
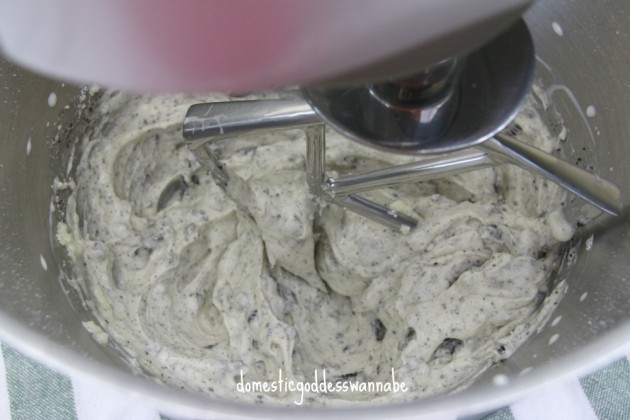
To make the middle layer, beat the butter using the paddle attachment of your mixer for a minute. Add the sifted icing sugar and 2 tablespoons of cream.


Beat until the mixture is smooth and creamy. Add one more tablespoon of cream and beat until the mixture is of spreadable consistency.
Place the oreos in a ziplock bag and bash with a rolling pin until you get crumbs. Add this to the frosting and mix just to distribute the oreo crumbs evenly.

Spread this over the brownie.
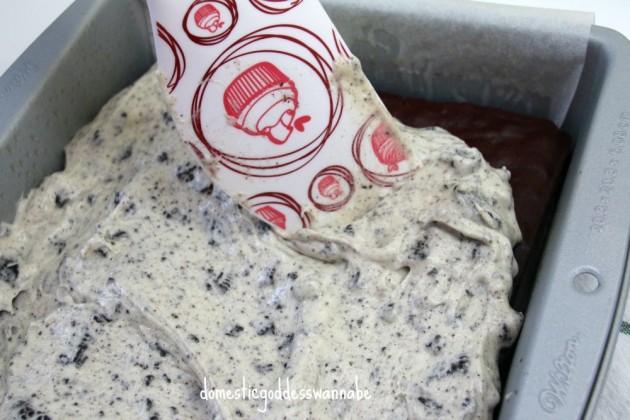
Return the brownie into the fridge to chill.
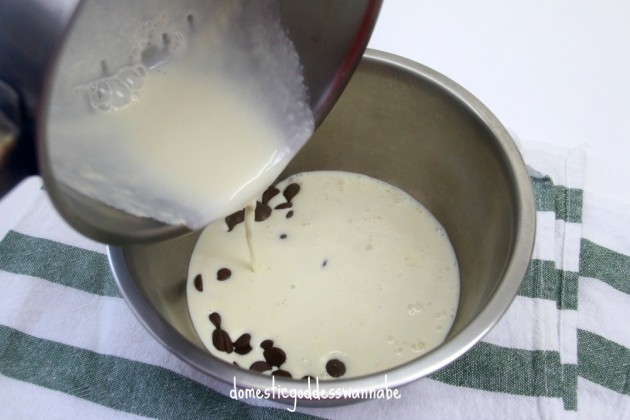
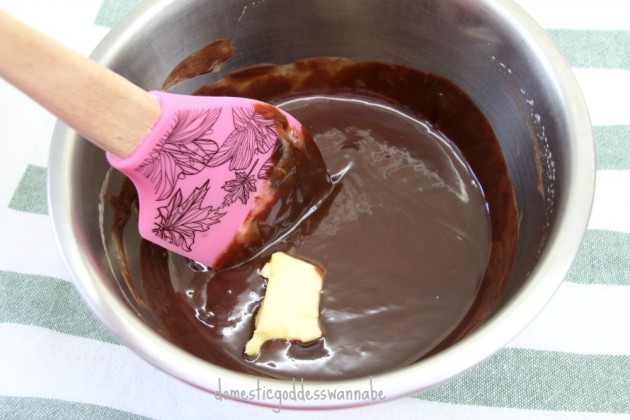
To make the ganache, place the chocolate in a heat-proof bowl. Heat the cream until it just starts to boil. Pour the cream over the chocolate and let stand for a minute or so.
Stir with a spatula until the chocolate has melted and the mixture is smooth.

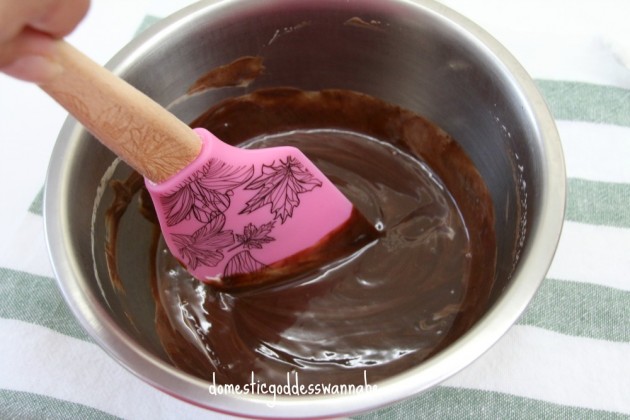
Add the butter and stir until the mixture is smooth.

Pour the ganache over the frosting and spread with a spatula.


Chill this for at least 30 minutes before cutting.
I sprinkled some crushed oreos on top before serving.
Is it not one of the prettiest brownies ever?
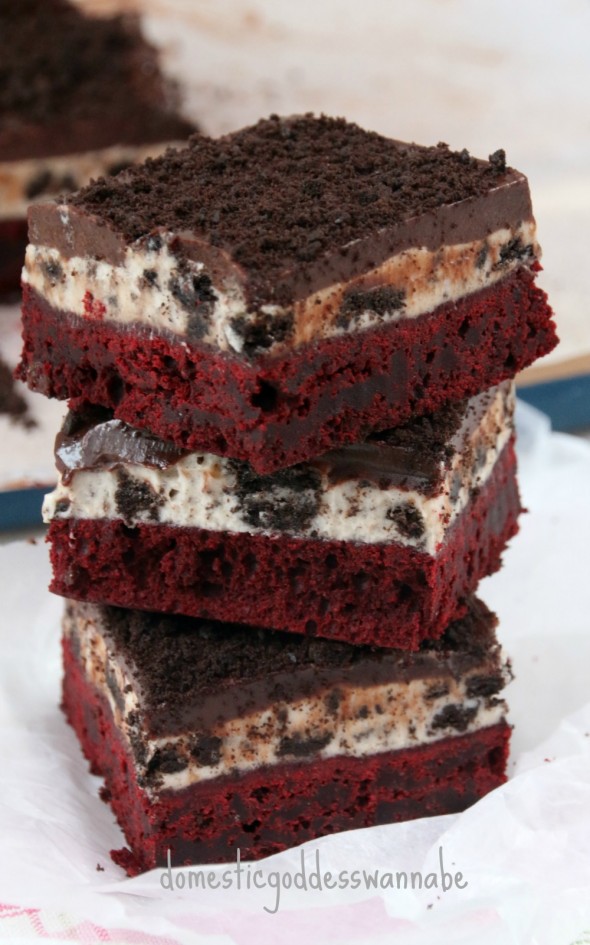
It tastes darn good too, I tell ya!
Go make this – your kids will love you even more!

- 2 large eggs
- 1/2 cup (115g) unsalted butter
- 1 cup (200g) granulated sugar
- 2 teaspoons vanilla extract
- 1/4 cup (21g) unsweetened cocoa powder
- 1/8 teaspoon salt
- 1 Tablespoon liquid or gel red food coloring
- 3/4 teaspoon white vinegar
- 3/4 cup (95g) all-purpose flour
- 1/4 cup (60g) unsalted butter, softened to room temperature
- 1 and 3/4 cups (210g) confectioners' sugar
- 2-3 Tablespoons (30-45ml) heavy cream (aka double cream, whipping cream)
- 6 Oreos, crushed
- 4 ounces semi-sweet chocolate*
- 1/2 cup (120ml) heavy cream (aka double cream, whipping cream)
- 2 Tablespoons (30g) unsalted butter, softened to room temperature
- 3 oreo biscuits, filling removed and crushed
- Melt the butter in a heavy-based saucepan or the microwave. Be careful not to burn the butter. Set this aside to cool slightly before using.
- Pour the butter in a big bowl. Add the sugar and whisk to combine.
- Add vanilla extract, red food coloring and white vinegar. Whisk to combine.
- Add the eggs, one at a time and mix well.
- Fold in the flour, cocoa powder and salt with a spatula. Mix just to combine - do not over mix!
- Once mixed, pour the batter into a greased and lined 8x8-inch pan.
- Bake at 170°C for 22-25 minutes, or until a skewer inserted into the brownie emerges mostly clean.
- Cool the brownie on a wire rack for 30 minutes before placing it to chill in the fridge.
- Beat the butter using the paddle attachment of your mixer for a minute. Add the sifted icing sugar and 2 tablespoons of cream.
- Beat until the mixture is smooth and creamy. Add one more tablespoon of cream and beat until the mixture is of spreadable consistency.
- Place the oreos in a ziplock bag and bash with a rolling pin until you get crumbs. Add this to the frosting and mix just to distribute the oreo crumbs evenly.
- Spread this over the brownie. Return the brownie into the fridge to chill.
- To make the ganache, place the chocolate in a heat-proof bowl. Heat the cream until it just starts to boil. Pour the cream over the chocolate and let stand for a minute or so.
- Stir with a spatula until the chocolate has melted and the mixture is smooth.
- Add the butter and stir until the mixture is smooth.
- Pour the ganache over the frosting and spread with a spatula.
- Chill this for at least 30 minutes before cutting.
- Sprinkle with crushed oreos before serving.
- Cut the brownies into squares, wiping your large knife off with a wet paper towel between cuts so that the layers stay neat. Cover brownies tightly and keep chilled in the refrigerator for up to 5 days.
- You may double this recipe in a 9x13 baking pan. The oven temperature remains the same for baking the brownie layer, but the bake time will be 35-45 minutes.
- This makes a very dense brownie.


Hi Diana,
Your multiple layers of brownies look heavenly!!! I’m sure anybody who eat these will feel the joy of Christmas… LOL!!!
Zoe
Nice recipes !
Wow thick & dense brownies ! looks so inviting ! Aiya I cannot tahan liao …
Can I say you are brilliant – red velvet, oreo AND brownies… the best of 3 worlds 😀
Haha, it was greed! Thanks Yen!
Those brownies look absolutely delicious & the flavour combination sounds heavenly.
Wow! This is absolutely delicious Diana.
Thank you Amy 🙂 🙂
Hi Diana, the brownie really looks good and yummy! really thanks for all the recipes you have listed! really inspiring for me! 😀
May i ask if you pre-heat your oven to 170degree? Thanks!
yes always pre-heat before baking.